
Ah, that fresh iPhone box in your hands—it’s like holding a ticket to a whole new world, isn’t it? I still remember my first one; I was fumbling around like a kid with a new toy, tapping buttons and wondering if I’d accidentally call Antarctica. If you’re a beginner staring at that shiny screen right now, feeling a mix of excitement and “wait, what next?”, you’re in the right spot. Let’s ease into this iOS setup adventure together, keeping things light and straightforward, because who needs tech stress when life’s already buzzing?
Right off the bat, if you’re asking about the beginner’s steps for iPhone setup, here’s the heart of it: iPhone setup is all about turning that blank slate into your personal hub. In about 45 minutes, you’ll go from unboxing to scrolling through apps, connecting to Wi-Fi, and maybe even snapping a selfie. It’s designed to be intuitive, guiding you through activating your device, signing into your Apple ID, and customizing settings—think of it as a friendly handshake with your new gadget. Whether you’re switching from Android or it’s your first smartphone, these steps make iOS tutorial basics feel like chatting with an old pal.
The Joy of Unboxing: Getting Started with Your iPhone
Picture this: you’re sitting on your couch, that iconic white box in front of you, and you’re tempted to just dive in. But hold up—let’s do this right. First, power up your iPhone by pressing and holding the side button until the Apple logo appears. It’s that simple kickoff, like turning the key in a brand-new car. If your iPhone is brand new or factory reset, it’ll prompt you to select your language and region. Go with what feels natural; I always pick English (US) because, well, that’s my vibe, but choose whatever matches your daily chatter.
Once that’s sorted, you’ll see the Wi-Fi setup screen. This is crucial—connect to a stable network so your iPhone can download any necessary updates. Trust me, skipping this is like trying to bake a cake without flour; things just won’t rise. If you’re in a public spot, use a secure connection to keep your data safe. Oh, and if you’re setting up with an eSIM, that’s where the magic happens next, linking your cellular plan without the hassle of physical SIM cards. It’s one of those iOS perks that make you go, “Wow, technology’s come a long way since flip phones.”
Pro methods for iOS file managementStep-by-Step Setup Guide: Making It Effortless
Alright, let’s break this down into bite-sized actions. Remember, iOS is all about user-friendly design, so breathe easy as we go.
1Sign in with your Apple ID. This is like your digital passport—enter your email and password to unlock features like iCloud and the App Store. If you don’t have one, create it on the spot; it’s free and ties everything together seamlessly.
2Set up Face ID or Touch ID for security. Hold your iPhone at eye level and follow the on-screen instructions to scan your face. It’s oddly fun, like posing for a futuristic ID photo, and it beats typing passcodes every time.
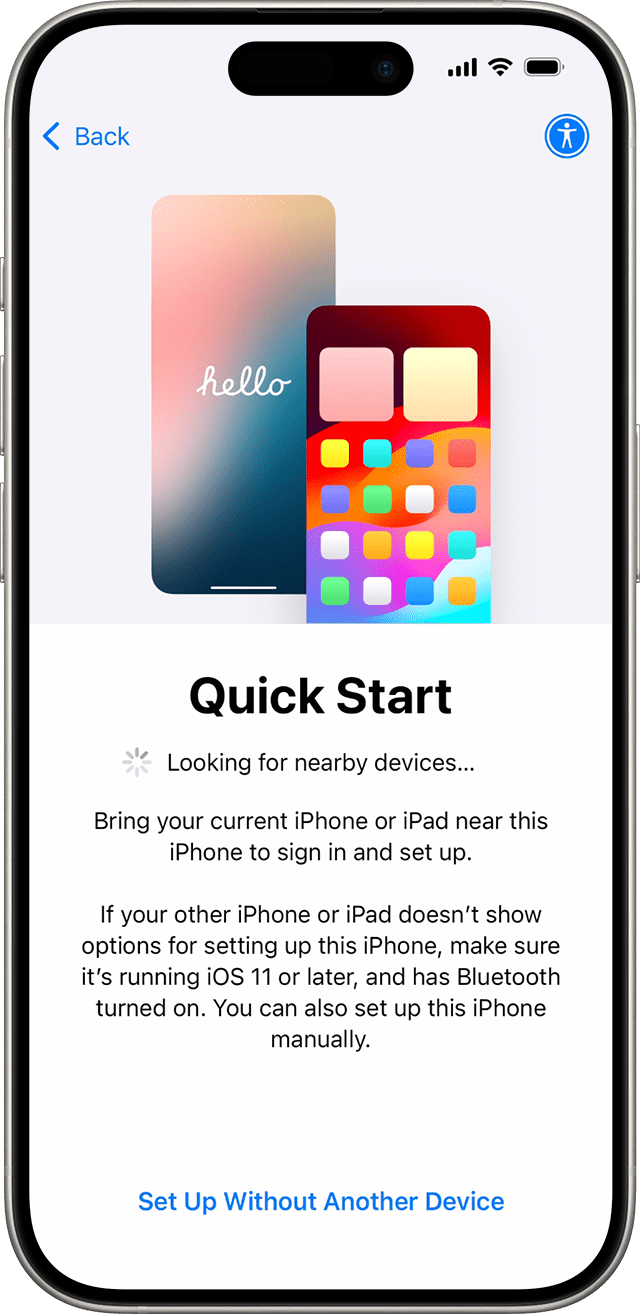
3Restore from a backup if you’re upgrading. If you have an old iPhone, use Quick Start by bringing the two devices close; it’ll transfer your data wirelessly. No backup? No sweat—just set up as new and start fresh; it’s a blank canvas waiting for your personal flair.
Hidden gems in iOS shortcuts app4Customize your settings. Dive into the Settings app to tweak brightness, sounds, and privacy options. For instance, enable Siri for hands-free help—it’s like having a witty assistant in your pocket, perfect for those “Hey, what’s the weather?” moments.
5Download essential apps and update iOS. Head to the App Store for basics like Messages or Maps, and check for software updates in Settings > General > Software Update. It’s that final polish, ensuring your iPhone setup process runs smoothly without glitches.
Pro Tips for a Smooth iOS Ride
Now that we’ve covered the basics, let’s sprinkle in some real-talk advice. I once forgot to back up my photos during a setup—lesson learned, right? Always double-check your iCloud storage before starting. And hey, if you’re into that meme culture, think of your iPhone as your portal to viral videos; set up notifications wisely so you’re not bombarded. Another nugget: explore the Accessibility features early—they’re game-changers for everyone, like voiceover for hands-free navigation or larger text for easier reading.
In the spirit of iOS tutorials, let’s not overlook battery life. Charge your iPhone fully before setup to avoid interruptions—it’s a small thing, but it keeps the flow going. Oh, and if you’re a photography buff, enable the Camera app’s quick access from the lock screen; it’s like having a snapshot ready for those spontaneous moments, whether it’s a sunset or a funny cat video.
Easy ways to recover deleted photos on iOSFrequently Asked Questions About iPhone Setup
Wrapping up with a few queries that pop up often, because who doesn’t have questions?
Q1: What if my iPhone won’t connect to Wi-Fi during setup? A: Try restarting your router or moving closer to it. If that doesn’t work, reset network settings in the Settings app, but remember, this wipes saved networks, so have your passwords handy.
Q2: Can I set up my iPhone without an Apple ID? A: Technically yes, but you’ll miss out on key features like iCloud backups. It’s like going to a party without an invitation—possible, but not as fun. Create one; it only takes a minute.
Q3: How do I transfer data from an Android device? A: Use the Move to iOS app on your Android phone during setup. It’s straightforward, handling contacts, photos, and more, like a digital bridge between worlds.
What makes iOS keyboards efficientAs we part ways here, imagine glancing at your fully set-up iPhone and thinking, “Hey, I got this.” What’s your next move—diving into podcasts or exploring augmented reality games? Either way, your iOS journey’s just beginning, full of surprises and that signature Apple polish.